Okay, let’s talk about something seriously exciting: a dessert that combines three incredible flavors into one showstopping treat. Imagine this – a crisp graham cracker crust, a layer of velvety key lime cheesecake that’s both tart and sweet, all crowned with a fluffy piña colada topping that tastes like a vacation in every bite. This isn’t just any dessert – it’s the kind of recipe that’ll have people begging you to make it again and again. And the best part? No oven required! Just mix, chill, and impress.
I’ve been perfecting this recipe for years, tweaking it here and there until I got it just right. The secret? Using real key lime juice (though regular limes work too if that’s what you have) and that magical combination of coconut cream and pineapple that makes the topping taste exactly like your favorite tropical drink. This is one of those desserts that looks fancy but is actually surprisingly simple to make. Ready to create some magic? Let’s do this!
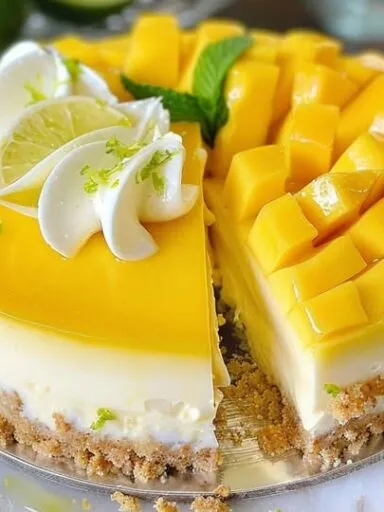
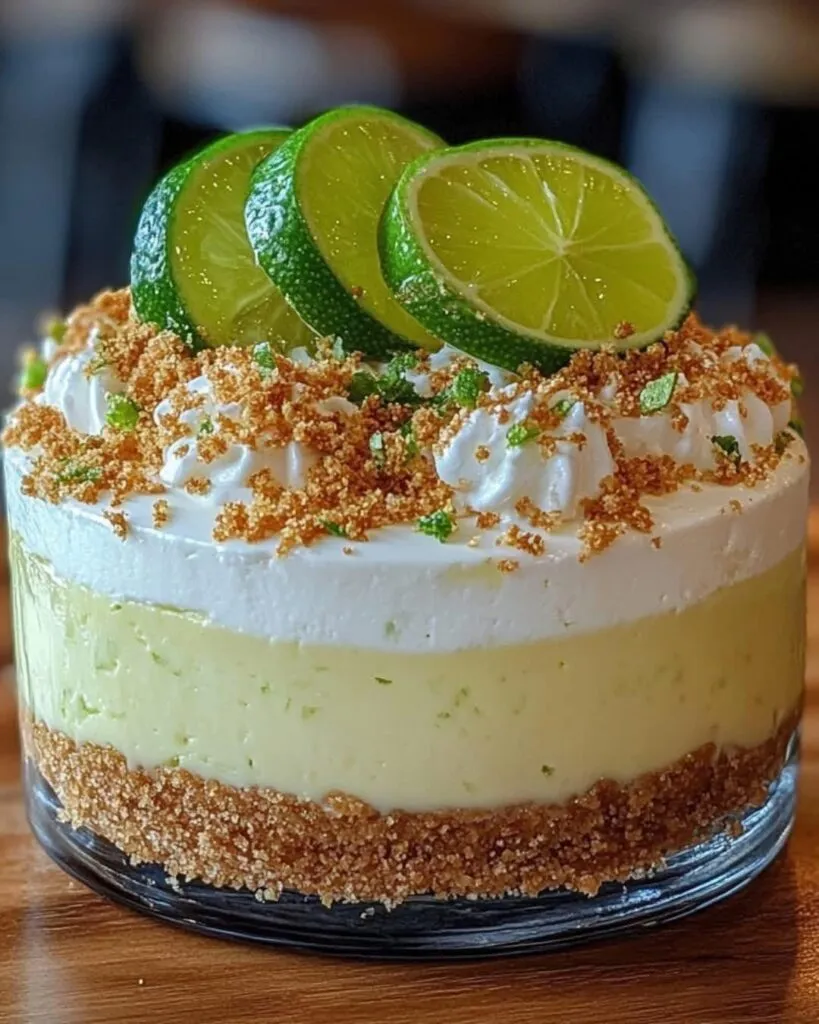
Golden brown key lime pie cheesecake with piña colada topping on a decorative stand
Recipe Lowdown: What We’re Making
Before we dive into the mixing and chilling (since we’re not actually baking this beauty), let’s get a clear picture of what we’re working with here. I always find it helpful to see the big picture first – it makes the process so much smoother!
Time Commitment:
- Prep Time: You’ll need about 25 active minutes to get everything mixed and assembled. This includes zesting and juicing the limes, crushing the graham crackers, and whipping up all the components.
- Chill Time: Here’s where patience comes in! You’ll need at least 4 hours for the cheesecake to set properly, though overnight is even better.
- Total Time: From start to finish, you’re looking at about 4 hours and 25 minutes, with most of that being hands-off chilling time.
How Many Servings & Adjusting the Recipe:
This recipe makes one gorgeous 9-inch pie that’ll give you about 8-10 generous slices.
- Want to make individual servings? You could divide this into 12 mason jars or dessert cups!
- Need to feed a crowd? Simply double all the ingredients and use a 9×13-inch pan instead.
- Making a smaller version? Halve everything and use a 6-inch springform pan.
Skill Level:
I’d rate this as Easy/Great for Beginners. There’s no tricky baking involved, just some mixing and chilling. The most important things are:
- Making sure your cream cheese is truly softened
- Not overmixing the whipped cream topping
- Being patient while it chills (this is crucial!)
Tools You’ll Need:
- 9-inch pie dish: This is the perfect size for this recipe. Springform pans work too!
- Mixing bowls: You’ll want at least two medium-sized ones – one for the crust, one for the filling.
- Electric mixer: A hand mixer or stand mixer will make your life much easier.
- Measuring cups and spoons: Precision matters in no-bake desserts!
- Zester and juicer: For getting all that wonderful lime flavor.
- Spatula: For scraping down the sides and folding gently.
- Whisk: Helpful for combining dry ingredients.
No Electric Mixer? No Problem!
If you don’t have a mixer, you can absolutely make this by hand – it’ll just take some elbow grease! Use a sturdy whisk for the cream cheese and a fork for whipping the cream. It won’t be quite as smooth, but it’ll still taste amazing.
Making Ahead/Meal Prep Champion:
This dessert is PERFECT for making ahead! In fact, it needs that chilling time to set properly. You can:
- Make the entire pie up to 2 days before serving
- Prepare just the crust a day in advance
- Freeze the fully assembled pie for up to a month
| Ingredient | Full Recipe (9-inch) | Half Recipe (6-inch) | Double Recipe (9×13) |
|---|---|---|---|
| Graham cracker crumbs | 1½ cups | ¾ cup | 3 cups |
| Butter | ⅓ cup | 2½ tbsp | ⅔ cup |
| Cream cheese | 16 oz (2 blocks) | 8 oz (1 block) | 32 oz (4 blocks) |
| Sweetened condensed milk | 14 oz can | 7 oz (½ can) | 28 oz (2 cans) |
| Key lime juice | ½ cup | ¼ cup | 1 cup |
| Heavy cream | 1 cup | ½ cup | 2 cups |
| Pineapple | 1 cup | ½ cup | 2 cups |
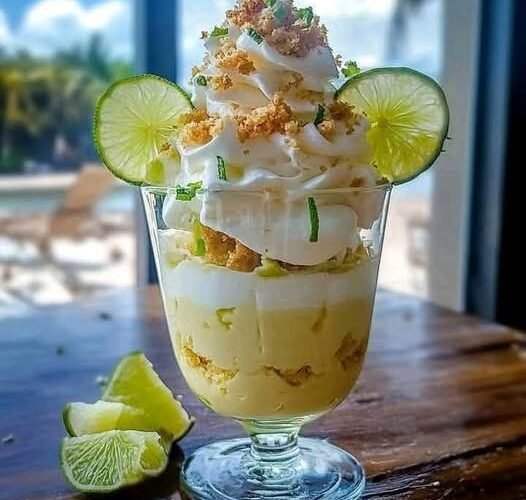
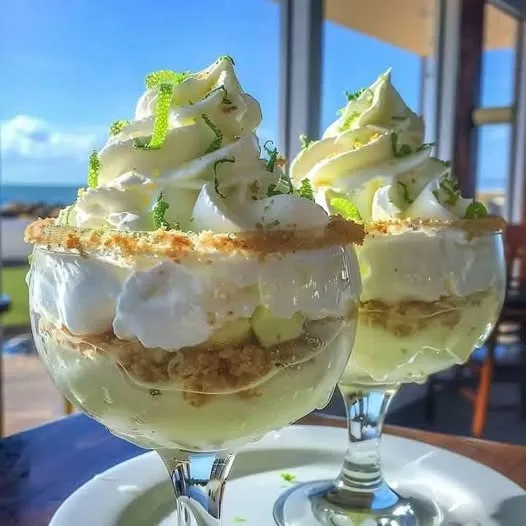
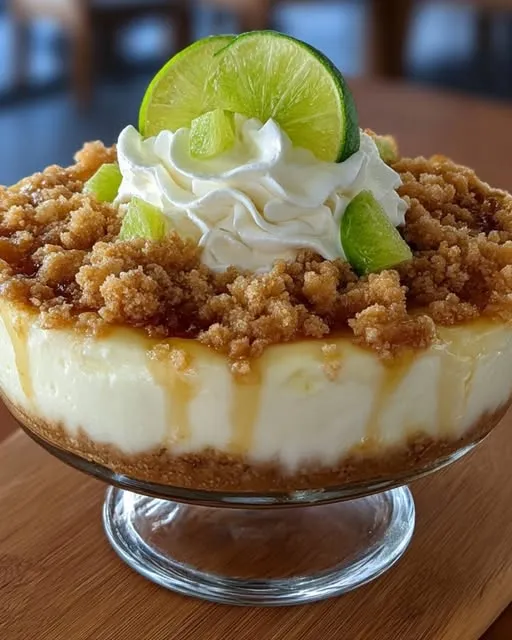
Homemade key lime cheesecake with piña colada topping on a marble slab
The Good Stuff: What Goes In This Dessert
Alright, let’s talk ingredients. Getting everything prepped and ready before you start (that fancy “mise en place” chefs talk about) makes this process so much smoother. Here’s your complete shopping list, with all my best tips and substitution options:
For the Crust:
- 1½ cups graham cracker crumbs: That’s about 10 full sheets of graham crackers. You can buy pre-crushed or crush your own. I prefer crushing my own because you can control the texture – I like some slightly larger pieces for extra crunch!
Substitution: Digestive biscuits or vanilla wafers work great too. For gluten-free, use gluten-free graham crackers. - ⅓ cup melted butter: This binds our crust together. Use unsalted so you control the salt level.
Substitution: Coconut oil works beautifully for a dairy-free version. - 2 tbsp brown sugar: Just a touch to enhance the graham flavor. Light or dark both work.
Substitution: White sugar or coconut sugar are fine alternatives.
For the Key Lime Cheesecake Layer:
- 16 oz (2 blocks) cream cheese: MUST be full-fat and FULLY softened. Leave it out for 2 hours, or microwave at 50% power in 15-second intervals if you’re short on time.
Pro Tip: Cut into 1-inch cubes before softening – it speeds up the process! - 1 (14 oz) can sweetened condensed milk: This gives that perfect creamy sweetness. Don’t use evaporated milk – it’s not the same!
Substitution: For dairy-free, use coconut condensed milk. - ½ cup key lime juice: Fresh is amazing if you can find key limes, but bottled works too. Regular lime juice is fine in a pinch.
Pro Tip: Strain the juice to avoid any pulp or seeds! - 1 tbsp lime zest: This is where the real lime flavor shines! Use a microplane for the finest zest.
- 1 tsp vanilla extract: The background note that ties everything together. Use pure vanilla if possible.
For the Piña Colada Topping:
- 1 cup heavy cream: Must be cold! I even chill my mixing bowl and beaters for 15 minutes first.
Substitution: Coconut cream can be used, but it won’t whip as light. - ¼ cup powdered sugar: Dissolves perfectly into the cream.
Substitution: Regular sugar works but may be slightly grainy. - ½ cup coconut cream: Use the thick part from a can of coconut milk (don’t shake the can first!).
Pro Tip: Chill the can overnight for easiest separation. - 1 cup diced pineapple: Fresh tastes brightest, but well-drained canned works too.
Pro Tip: Pat the pineapple dry so it doesn’t make your topping watery!
For Garnish:
- Toasted coconut flakes: About ¼ cup – toast them in a dry pan until golden!
- Lime slices: For that beautiful pop of color.
- Maraschino cherries: Optional, but so festive!
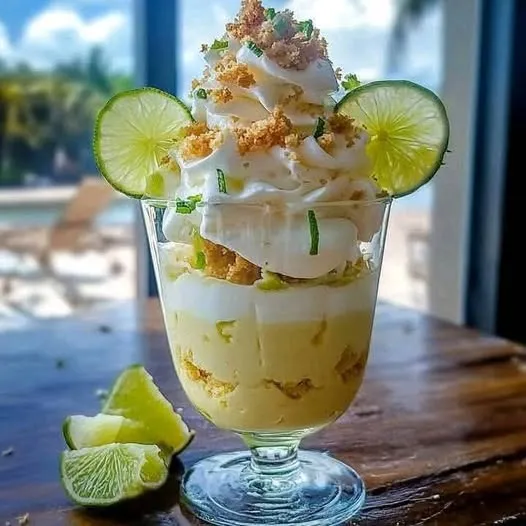
Fresh ingredients for key lime pie cheesecake piña colada arranged on wood
Let’s Make It! Your Detailed Step-by-Step Guide
Step 1: Make the Graham Cracker Crust
- Prep Your Pan: Grab your 9-inch pie dish. No need to grease it – the butter in the crust will prevent sticking.
- Crush the Graham Crackers:
- Place whole graham crackers in a ziplock bag.
- Use a rolling pin to crush them into fine crumbs with some slightly larger pieces for texture.
- Alternative: Pulse in a food processor until desired consistency.
- Mix Crust Ingredients:
- In a medium bowl, combine:
- 1½ cups graham cracker crumbs
- ⅓ cup melted butter (cooled slightly)
- 2 tbsp brown sugar
- Mix with a fork until all crumbs are evenly moistened. It should hold together when pressed.
- Press into Pan:
- Pour mixture into pie dish.
- Use the bottom of a measuring cup or glass to:
- First press crumbs firmly up the sides
- Then press remaining crumbs evenly on the bottom
- Pro Tip: For extra firmness, press the sides at a slight upward angle.
- Chill the Crust:
- Place in freezer for 15 minutes to set.
- Meanwhile, start the filling.
Step 2: Create the Key Lime Cheesecake Filling
- Prepare the Cream Cheese:
- Your cream cheese should be so soft that your finger leaves an indent when pressed.
- Cut into 1-inch cubes for easier mixing.
- Troubleshooting Tip: If you forgot to soften it, microwave at 50% power in 10-second intervals, checking after each.
- Beat the Cream Cheese:
- Using a stand mixer with paddle attachment or hand mixer:
- Start on low speed for 30 seconds to break it up
- Increase to medium and beat 2 full minutes
- Scrape down bowl thoroughly
- Beat 1 more minute until COMPLETELY smooth
- Visual Cue: When you lift the beater, no lumps should cling to it.
- Incorporate Sweetened Condensed Milk:
- With mixer on low, slowly drizzle in:
- The full 14 oz can of sweetened condensed milk
- Mix until just combined (about 30 seconds)
- Why Slow? Prevents graininess in the texture
- Add Lime Components:
- Mix in:
- ½ cup key lime juice (strained)
- 1 tbsp lime zest
- 1 tsp vanilla extract
- Mix on low only until uniform (about 20 seconds)
- Critical: Overmixing after adding lime juice can cause thinning
- Test and Adjust:
- Dip a spoon in and taste:
- Want more tartness? Add 1 tsp more lime juice
- Need more lime flavor? Add ½ tsp more zest
- Pro Tip: The flavor mellows slightly after chilling
- Assemble the Layers:
- Remove crust from freezer
- Pour filling slowly from center outward
- Use offset spatula to smooth surface perfectly level
- Air Bubble Prevention: Gently tap pan on counter 5 times
- Chill Properly:
- Cover loosely with plastic wrap (don’t let it touch surface)
- Refrigerate minimum 4 hours (overnight ideal)
- Why So Long? Allows proteins to fully set for clean slices
Step 3: Make the Piña Colada Topping
- Prepare the Pineapple:
- For fresh pineapple:
- Cut off top and bottom
- Slice off skin vertically
- Remove “eyes” with diagonal cuts
- Core and dice into ¼-inch pieces
- For canned pineapple:
- Drain in sieve 10 minutes
- Press gently with paper towels
- Chill Equipment:
- Place mixing bowl and beaters in freezer 15 minutes
- Science Behind It: Cold tools whip cream faster and higher
- Whip the Cream Base:
- Combine in chilled bowl:
- 1 cup heavy cream (38-40°F ideal)
- ¼ cup powdered sugar
- Start on low speed 30 seconds
- Increase to medium-high until stiff peaks form (2-3 min)
- Visual Cue: Beaters leave distinct trails when lifted
- Fold in Coconut Cream:
- Scoop thick coconut cream from can (avoid watery liquid)
- Gently fold in using “J-shaped” motions with spatula
- Texture Check: Should hold peaks but still be spreadable
- Decorate Like a Pro:
- Remove chilled cheesecake from fridge
- Spread topping using piping bag or spoon
- For swirls: Use back of spoon in circular motions
- Arrange pineapple pieces in concentric circles
- Presentation Tip: Leave ½-inch border for clean slices
Step 4: Final Touches & Serving
- Toast the Coconut:
- Use small dry skillet over medium heat
- Add ¼ cup shredded coconut
- Stir constantly 60-90 seconds until golden
- Immediately transfer to plate to stop cooking
- Garnish Beautifully:
- Sprinkle toasted coconut over top
- Add thin lime slices around edge
- Place cherry in center
- Pro Touch: Lightly dust with lime zest
- Final Chill:
- Return to fridge 30 minutes to set topping
- Why? Allows flavors to meld
Serving Like a Pastry Chef
- Use thin-bladed knife dipped in hot water
- Wipe clean between each slice
- For perfect wedges: Cut in half first, then quarters, then eighths
Storage Master Guide
| Method | Duration | Tips |
|---|---|---|
| Fridge | 3 days | Cover with cake dome |
| Freezer | 1 month | Wrap slices in parchment first |
| Thawing | Overnight | In fridge |
Next-Level Variations
- Mango Twist: Replace pineapple with diced mango
- Boozy Version: Add 1 tbsp rum to whipped cream
- Chocolate Crust: Swap grahams for chocolate cookies
Troubleshooting Table
| Issue | Cause | Fix |
|---|---|---|
| Runny filling | Didn’t chill long enough | Freeze 1 hour |
| Cracking | Overmixed after lime juice | Next time fold gently |
| Soggy crust | Butter wasn’t fully mixed | Press tighter next time |
Final Thoughts
Just like your perfect oatmeal muffins, this recipe proves simple ingredients create magic. The contrast of textures – crunchy crust, creamy filling, fluffy topping – makes every bite an experience. Now go enjoy your masterpiece, you baking rockstar!