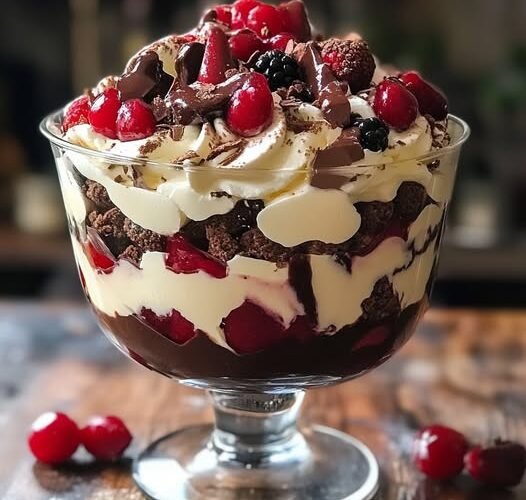
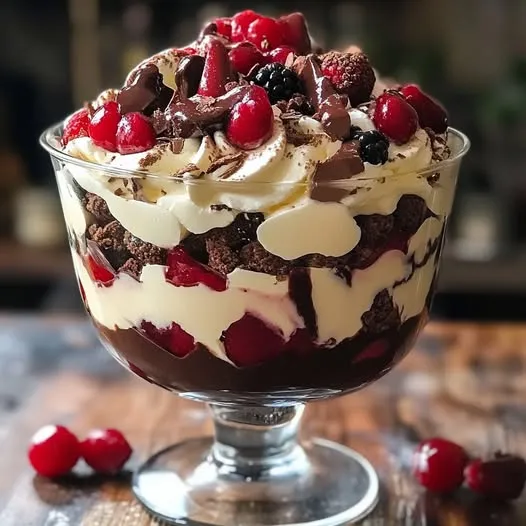
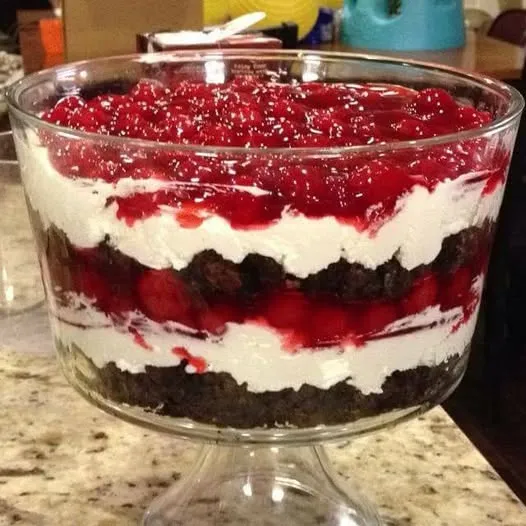
Imagine sinking your spoon into layers of rich, fudgy brownie chunks, silky whipped cream, and luscious chocolate pudding, all nestled together in a tall glass dish. Each bite is a swirl of textures—gooey, fluffy, creamy—with just enough crunch from crushed chocolate cookies or toffee bits on top. The flavors? Think warm brownies straight from the oven, cool pudding with that nostalgic, cozy hug of cocoa, and cloud cloud-like whipped cream that melts the moment it hits your tongue. Honestly, it’s the kind of dessert that stops conversation—people go quiet because they’re too busy swooning.
This isn’t just a trifle—it’s a celebration in a bowl. I first made it for a last-minute dinner party when I didn’t have time for a full-on cake, and wow, it was the hit of the night. The best part? It looks fancy, but it’s actually super simple. No special piping bags, no delicate timing—just layer, chill, and enjoy.
Whether you’re baking from scratch or using shortcuts (no shame here!), this brownie trifle is pure, decadent joy—perfect for birthdays, holidays, or a “just because” treat.
Golden Rule: The beauty of trifle is in the layers – and we’ll make sure every spoonful is picture-perfect!
Recipe Blueprint
| Category | Details | Why It Matters |
|---|---|---|
| Active Time | 35 min | Includes baking & layering |
| Chill Time | 2 hrs (opt) | Lets flavors marry |
| Total Time | 2 hrs 35 min | Mostly hands-off |
| Yield | 12 servings | Fills 3-qt trifle dish |
| Skill Level | Beginner-friendly | No fancy techniques |
| Essential Tools | Trifle bowl, mixer, spatula | Glass shows layers best |
Ingredients Deep Dive
Brownie Layer
- 1 (18oz) brownie mix + required ingredients
- Pro Tip: Use the “fudge-style” box mix for extra richness
- Homemade Option: [Link to your favorite scratch recipe]
- ½ cup mini chocolate chips
- Why Mini? Distributes chocolate evenly
Pudding Layer
- 2 (3.9oz) instant chocolate pudding
- Alternative: Butterscotch for caramel lovers
- 3 cups whole milk
- Science Note: Fat content = creamier texture
Whipped Cream Layer
- 2 cups heavy cream (36-40°F)
- Temp Critical: Warm cream won’t whip!
- ¼ cup powdered sugar
- No Clumps: Sift first for smoothest texture
Toppings & Extras
- 1 cup Heath toffee bits
- Storage Tip: Freeze to prevent sticking
- ½ cup chocolate curls
- Easy Hack: Use vegetable peeler on chocolate bar
Step 1: Make the Chocolate Pudding
In a large bowl, whisk together 1 box (3.9 oz) of instant chocolate pudding mix with 2 cups of cold milk. Keep whisking for about 2 minutes until the mixture thickens and looks glossy and smooth.
Pro Tip: Use cold milk straight from the fridge—this helps the pudding set faster and gives it that creamy texture we love.
Let the pudding sit in the fridge for 10–15 minutes while you prep the whipped cream. This quick chill time allows the pudding to thicken up and hold its shape in those dreamy layers later on.
Step 2: Whip the Cream
In another chilled mixing bowl, pour in 2 cups of heavy whipping cream. Add 2–3 tablespoons of powdered sugar (adjust based on how sweet you like it) and 1 teaspoon of vanilla extract.
Using a hand mixer or stand mixer with the whisk attachment, beat on medium-high until soft, billowy peaks form. You’re looking for a texture that’s smooth and spreadable—not stiff or grainy.
Pro Tip: Chill your bowl and beaters beforehand for the fluffiest whipped cream.
If you’re short on time or energy, store-bought whipped topping works just fine too—no judgment!


Step 3: Prep the Brownies
If you baked your own brownies, make sure they’re completely cool before using—warm brownies will melt the pudding and cream, and we don’t want that.
Cut the brownies into 1-inch cubes. Don’t worry about being too precise—it’s rustic and charming either way.
Shortcut Option: Use store-bought brownies (like Ghirardelli or bakery-style). Just make sure they’re dense and fudgy for best results.
Step 4: Assemble the Trifle
Grab your trifle dish or a large glass bowl (clear is best for showing off those layers). You can also make this in individual cups or mason jars for personal portions.
Layer 1: A generous handful of brownie cubes.
Layer 2: Spoon a layer of chocolate pudding, spreading gently with the back of a spoon.
Layer 3: Add a fluffy layer of whipped cream.
Repeat until you reach the top—aim for 2–3 full sets of layers, finishing with whipped cream.
Pro Tip: Gently press down on each brownie layer to compact the dessert slightly and keep layers defined.
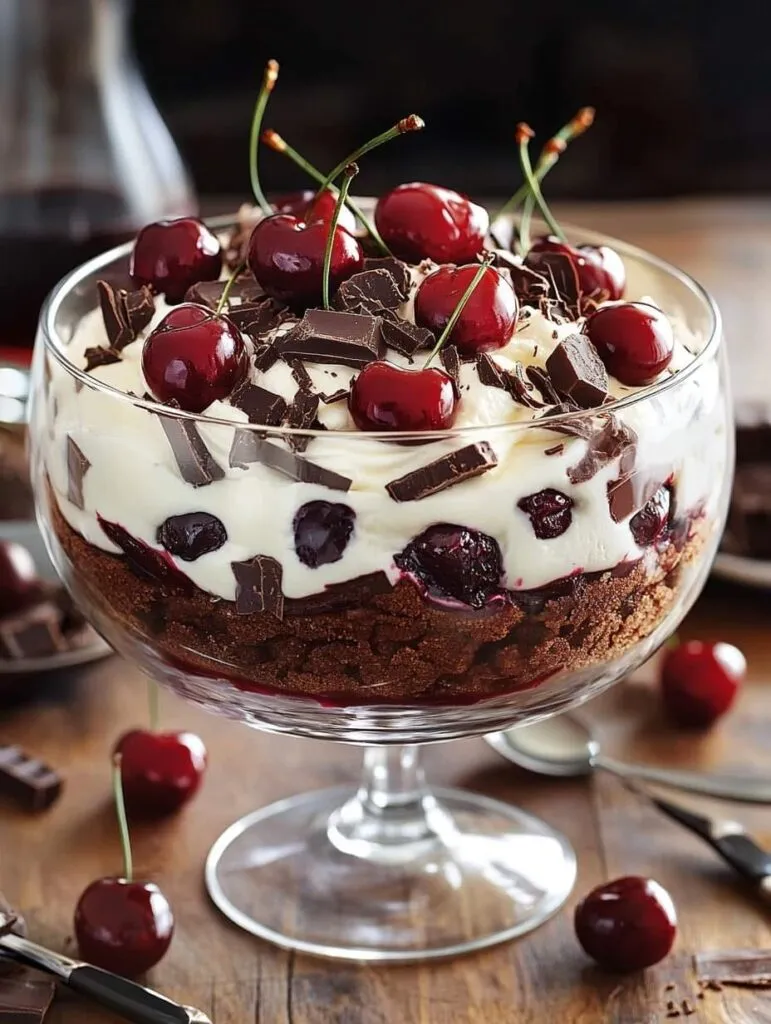

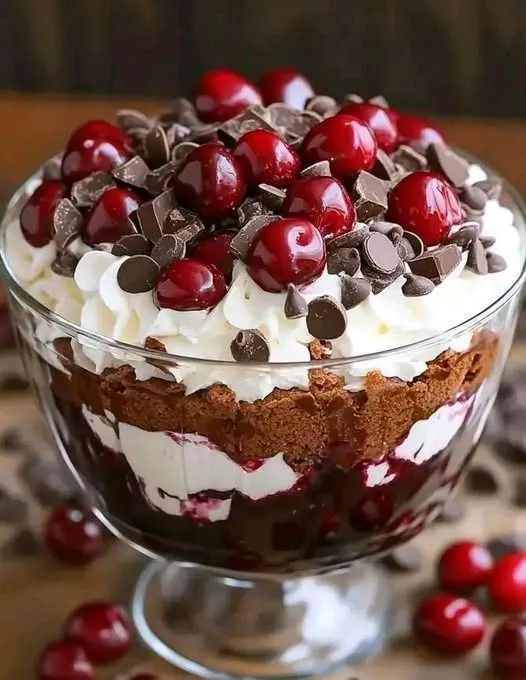
Step 5: Add the Toppings
Top your masterpiece with:
- Crushed chocolate cookies (Oreos are great!)
- Chocolate shavings or curls
- Mini chocolate chips or toffee bits
- Fresh berries (if you’re feeling fancy and want to balance the richness)
Go wild here—it’s your trifle! This is the perfect moment to make it feel extra special.
Would you like me to format this into a downloadable Markdown file for your blog or newsletter?
Foolproof Step-by-Step
Step 1: Bake Perfect Brownie Base
- Prep:
- Preheat oven to 325°F (lower temp for fudgier texture)
- Line 9×13″ pan with parchment with 2″ overhang
- Mix & Bake:
- Prepare batter per package + fold in mini chips
- Bake 5 min less than directed (center should barely jiggle)
- Visual Cue: Toothpick with moist crumbs (no wet batter)
- Cool & Cut:
- Cool in pan 15 min → lift out using parchment
- Chill 1 hour before cubing (prevents crumbling)
Step 2: Pudding Perfection
- Chill Bowl 10 min in freezer
- Whisk pudding + milk 2 min until thickened
- Rest 5 min (sets properly)
Step 3: Whipped Cream Wizardry
- Freeze mixer bowl & beaters 15 min
- Beat cream + sugar + vanilla:
- Start slow → medium → high (prevents splatter)
- Peak Test: Should hold shape when beater lifted
Step 4: Artful Assembly
| Layer | Ingredients | Thickness | Pro Tip |
|---|---|---|---|
| 1 | Brownie cubes | 1.5″ | Press lightly to anchor |
| 2 | Pudding | ¾ cup | Spread to edges |
| 3 | Whipped cream | 1 cup | Swirl with spoon |
| Repeat | x2 | ||
| Top | Toffee + chocolate | Generous! | Create height |
Chill at least 2 hours for clean slices
Serving & Storage Science
| Method | Duration | Key Notes |
|---|---|---|
| Fridge | 3 days | Cover with plastic wrap pressed to surface |
| Freezer | Avoid | Whipped cream crystallizes |
| Make-Ahead | 24 hrs | Add toppings just before serving |
Serving Pro-Tips:
Serving & Storage Guide
| How to Serve | Storage | Reheating (if needed) |
|---|---|---|
| Serve chilled in a glass dish or cup. Garnish with fresh toppings just before serving. | Cover and store in the fridge for up to 3 days. Best enjoyed within 24 hours for max freshness. | No reheating needed. Keep cold for best texture. Do not freeze—cream layers won’t hold. |
- Warm knife under hot water for clean cuts
- Garnish with fresh mint for color contrast
Troubleshooting Table
| Issue | Cause | Solution |
|---|---|---|
| Soggy layers | Pudding too thin | Use ½ cup less milk next time |
| Brownie crumbles | Cut too warm | Chill thoroughly first |
| Whipped cream falls | Overbeaten | Stop at stiff peaks |
Next-Level Variations
Mocha Madness:
- Add 1 tbsp espresso powder to brownie batter
- Layer with chocolate-covered espresso beans
Berry Bliss:
- Alternate layers with fresh raspberries
- Use white chocolate pudding
Salted Caramel:
- Drizzle caramel between layers
- Top with flaky sea salt
Variations & Dietary Swaps
- Gluten-Free? Use gluten-free brownies or make a flourless chocolate cake base.
- Vegan? Use vegan brownies, dairy-free pudding (coconut or almond-based), and whipped coconut cream.
- Add fruit: Sliced bananas or raspberries between layers add brightness.
- Make it boozy: Add a splash of Kahlúa or Baileys over the brownies before layering—just a little goes a long way!
Closing Thoughts
And there you have it—your very own Easy Homemade Brownie Trifle that looks gourmet but comes together with ease. Whether you’re impressing guests or indulging solo on the couch, this dessert delivers big on flavor, texture, and that cozy-chic presentation.
I hope this trifle becomes your new go-to crowd-pleaser. If you give it a try, tag me in your creations or drop a comment—I’d love to see your sweet success!
Now grab a spoon and dive in—you’ve earned this.
Final Baker’s Notes
This trifle is my most-requested recipe because it delivers maximum wow factor with minimal effort. The secret? Quality ingredients + proper chilling = dessert magic.
Remember: Trifle always tastes better the next day as flavors meld. Hide some for yourself before serving!
“Life’s too short for bad desserts – make it extraordinary!”


