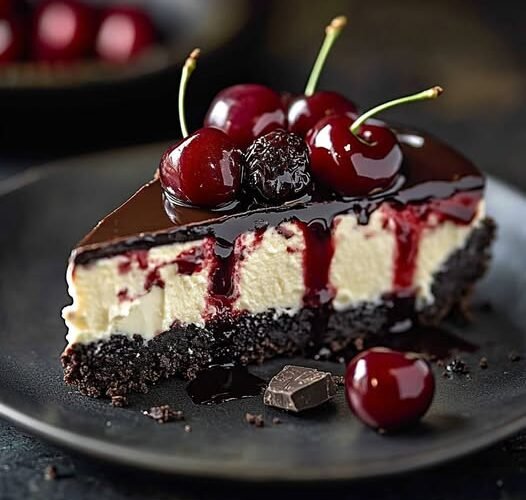
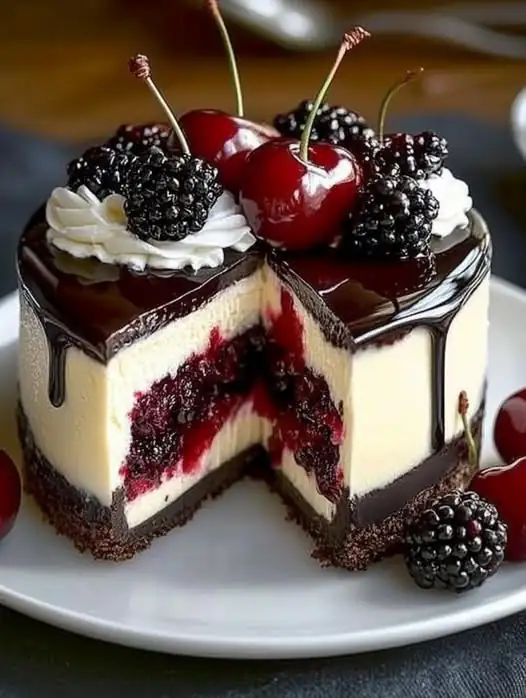
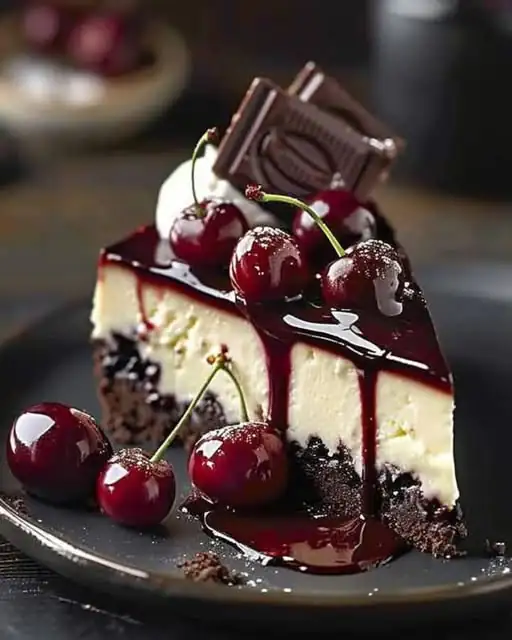
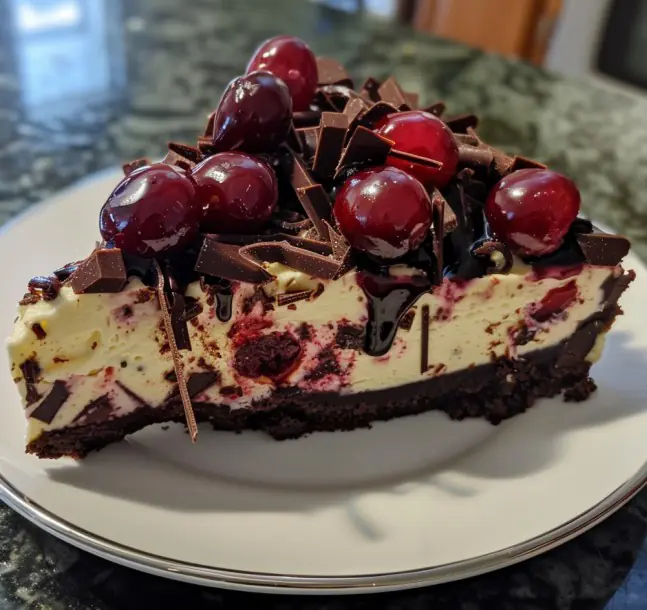
Hey friends! Today, I’m excited to share a baking recipe that’s truly show-stopping: a Baked Black Forest Cheesecake that layers rich chocolate, velvety cream cheese, and luscious cherry topping into one stunning dessert. Imagine biting into a silky chocolate cheesecake, topped with tangy-sweet cherries, clouds of whipped cream, and chocolate shavings. Pure magic.
This isn’t just a dessert—it’s a love letter to two classics: the Black Forest cake and creamy New York-style cheesecake. And let me tell you, when these two meet? It’s bliss. I first baked this beauty for a winter gathering with friends, and not a single slice was left behind. One friend called it “a chocolate dream that met a cherry orchard,” and honestly? She nailed it.
Whether you’re baking for a birthday, a holiday, or just to treat yourself (because you deserve it), this cheesecake brings the wow without bringing the stress.
Recipe at a Glance
Prep Time
Bake Time
Chill Time
Total Time
25 minutes
55–60 minutes
4–6 hours (or overnight)
~6.5 hours
Skill Level: Confident Beginner
Servings: 10–12 slices
Tools Needed: 9-inch springform pan, stand or hand mixer, parchment paper, offset spatula
Make-Ahead Friendly: Yes! Bake a day ahead and chill overnight for best texture.
Ingredients List
For the Chocolate Cookie Crust
Ingredient
Substitution / Notes
1 ½ cups chocolate cookie crumbs (like Oreos, crushed)
Use gluten-free chocolate cookies if needed
¼ cup melted butter
Salted or unsalted works
For the Chocolate Cheesecake Filling
Ingredient
Substitution / Notes
24 oz cream cheese, softened
Use full-fat for best texture
1 cup granulated sugar
Can use coconut sugar, but color will be darker
¾ cup sour cream
Greek yogurt works in a pinch
3 large eggs
Room temp is key!
1 tsp vanilla extract
Almond extract for a twist
8 oz semisweet or dark chocolate, melted & slightly cooled
Use 60–70% chocolate for deep flavor
For the Cherry Topping
Ingredient
Substitution / Notes
1 can cherry pie filling (21 oz)
Or make your own cherry compote!
1 tbsp Kirsch (optional)
Classic German cherry liqueur; skip if alcohol-free
Garnish (Optional but Extra Lovely)
Whipped cream
Dark chocolate curls or shavings
Fresh cherries (in season)
Step-by-Step Instructions
Step 1: Prepare the Pan & Crust
Preheat your oven to 325°F (163°C).
Grease a 9-inch springform pan, then line the bottom with parchment paper.
In a bowl, mix cookie crumbs and melted butter until it feels like wet sand.
Press evenly into the pan’s bottom. Use a flat-bottomed glass to compact it.
Bake for 8–10 minutes, then cool while prepping the filling.
Pro Tip: Wrap the outside of your pan with foil if you plan to use a water bath to prevent leaks.
Step 2: Make the Chocolate Cheesecake Filling
In a large bowl, beat cream cheese until creamy (2–3 mins).
Add sugar, sour cream, and vanilla, and mix until smooth.
Add eggs one at a time, mixing on low speed. Don’t overbeat!
Gently mix in the melted chocolate until evenly combined.
The batter should be smooth, glossy, and slightly thick.
Step 3: Bake the Cheesecake
Pour filling over the cooled crust and smooth the top.
Place the pan in a larger roasting pan and add hot water halfway up the sides (optional water bath prevents cracking).
Bake for 55–60 minutes, until edges are set and the center is slightly jiggly.
Turn off oven, crack the door, and let the cheesecake rest for 1 hour.
Step 4: Chill the Cheesecake
Remove from oven and cool to room temp.
Refrigerate for at least 4 hours or overnight before topping.
When fully chilled, it should feel firm with a creamy texture.
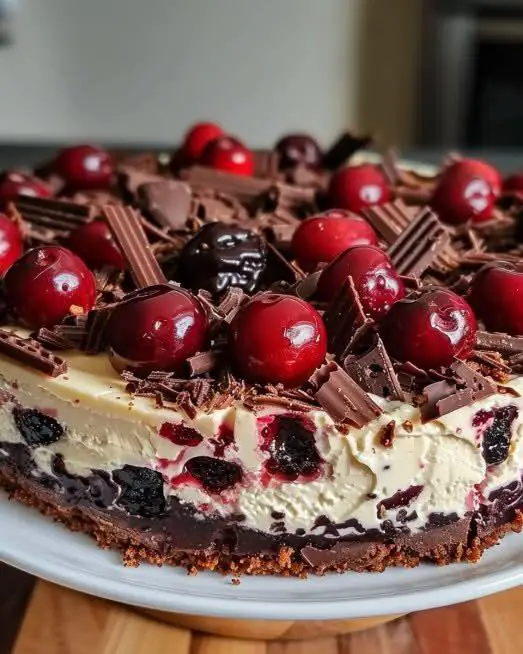
Step 5: Add the Cherry Topping & Garnish
Spoon cherry pie filling over the cheesecake (mix with Kirsch if using).
Top with whipped cream, chocolate curls, and fresh cherries right before serving for that bakery-style flair.
Serving & Storage Tips
Storage Method
How Long?
Notes
Fridge (covered)
4–5 days
Store in airtight container
Freezer (no topping)
1–2 months
Wrap tightly in plastic + foil
Serve
Chilled
Best texture after 6+ hrs of chilling
Troubleshooting & FAQ
Issue
Solution
Cracked top
Use water bath and don’t overbake; chill slowly
Runny filling
Needs more chill time or overmixed eggs
Soggy crust
Pre-bake crust and wrap pan if using water bath
Bitter chocolate taste
Use semisweet instead of very dark chocolate
Creative Variations
Black Forest Mocha Cheesecake: Add 1 tbsp instant espresso to the batter.
No-Bake Version: Use whipped cream and cream cheese base with melted chocolate and gelatin.
Mini Cheesecakes: Bake in muffin tins with liners for adorable party bites.
Closing Encouragement
There you have it, friends—your new go-to Black Forest Cheesecake recipe. It’s elegant, indulgent, and guaranteed to steal the spotlight at any celebration. Even if you’re new to baking cheesecakes, this one walks the line between classic and creative beautifully.
So grab your favorite mixing bowl, cue up some cozy music, and get ready to create something that tastes as beautiful as it looks. I’d love to hear how it turns out for you—tag me if you share it!